Managing modules connected to KaseyaOne
NAVIGATION Header > Admin Settings > Module Management
PERMISSIONS Admin role
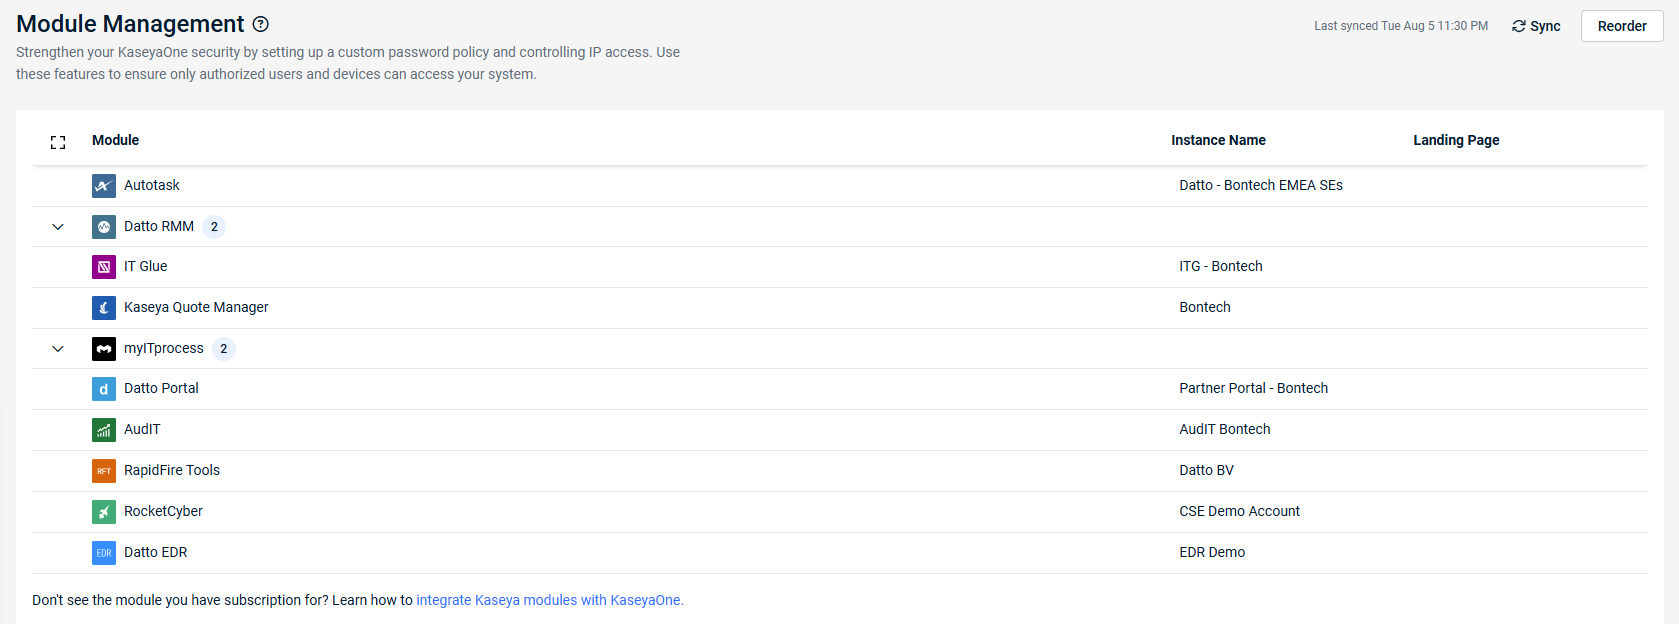
The Module Management page lists all the Kaseya module instances for which Unified Login has been configured. Refer to Enable Log In with KaseyaOne. This page shows the name of the module instances and the login URLs where users will log in to the modules. You can change the module names and the module URLs, which is useful if you prefer a different landing page.
NOTE After you configure Unified Login for a module, the module instance is automatically added to KaseyaOne and appears on the Admin Settings > Module Management page, the My Modules widget, and the App Launcher in KaseyaOne. For information on how to control access to modules, manage just-in-time provisioning for modules, and set up role-based access control for modules, refer to Integrate IT Complete modules with KaseyaOne.
To manage how your modules appear in your user account, refer to Module Management in Configuring your user account settings.
How to...
You can change the name of modules that have Log In with KaseyaOne enabled as follows:
- Navigate to the Admin Settings Module Management page. Refer to Security and navigation.
- Locate the module instance you want to change and click its Instance Name field.
- Edit the name as required and click the check mark to save the changes.
You can change the landing page for modules that have Log In with KaseyaOne enabled as follows:
- Navigate to the Admin Settings Module Management page. Refer to Security and navigation.
- Locate the module instance you want to change and click its Landing Page field.
- Edit the login URL as required and click the check mark to save the changes.
Modules are listed in alphabetical order by default, but you can reorder the list of modules as required. The configured order is reflected on this page, the My Modules widget on the home page dashboard, and in the App Launcher in KaseyaOne. Refer to My Modules and App Launcher.
- Navigate to the Admin Settings Module Management page. Refer to Security and navigation.
- Click Reorder.
- Drag and drop the modules and module instances to reorder them as required.
- When finished, click Confirm.


