TraitWare IdP SSO setup instructions
NAVIGATION Header > Admin Settings > Single Sign-On
PERMISSIONS Admin role in KaseyaOne and Administrator role in TraitWare
This article explains how to integrate TraitWare as a SAML Identity Provider (IdP) with KaseyaOne, enabling secure single sign-on (SSO) and optional automatic user provisioning.
Overview
Integrating TraitWare with KaseyaOne allows users to authenticate using TraitWare’s passwordless MFA experience and access KaseyaOne without managing separate credentials.
This integration uses SAML 2.0 and requires configuration in both TraitWare and KaseyaOne.
Supported features
Supported features of this integration include:
-
IdP-initiated SSO
-
SP-initiated SSO
-
Just-in-time user provisioning
Limitations
Review the following limitations of the TraitWare IdP SSO integration:
-
TraitWare does not send group claims in SAML assertions. Group-Based Access Control (GBAC) via IdP is not supported.
-
All access control is managed via:
User assignment in TraitWare
Roles and groups in KaseyaOne
Prerequisites
Ensure that the following requirements have been met before you set up IdP SSO:
-
You have an Admin user account in KaseyaOne and an Administrator account in TraitWare.
-
TraitWare mobile authentication has been set up for your users.
-
You understand that TraitWare does not support group-based SAML claims.
Setup instructions
Run the following procedures to integrate TraitWare as a SAML Identity Provider (IdP) with KaseyaOne.
Before starting, it is recommended that you open two tabs in your browser—one for KaseyaOne and one for the TraitWare Admin Console.
- Open a browser and log in to KaseyaOne as an Admin user.
-
In a separate browser tab, log in to the TraitWare Admin Console as an administrator.
You will perform the remaining steps in this procedure from the TraitWare Admin Console:
-
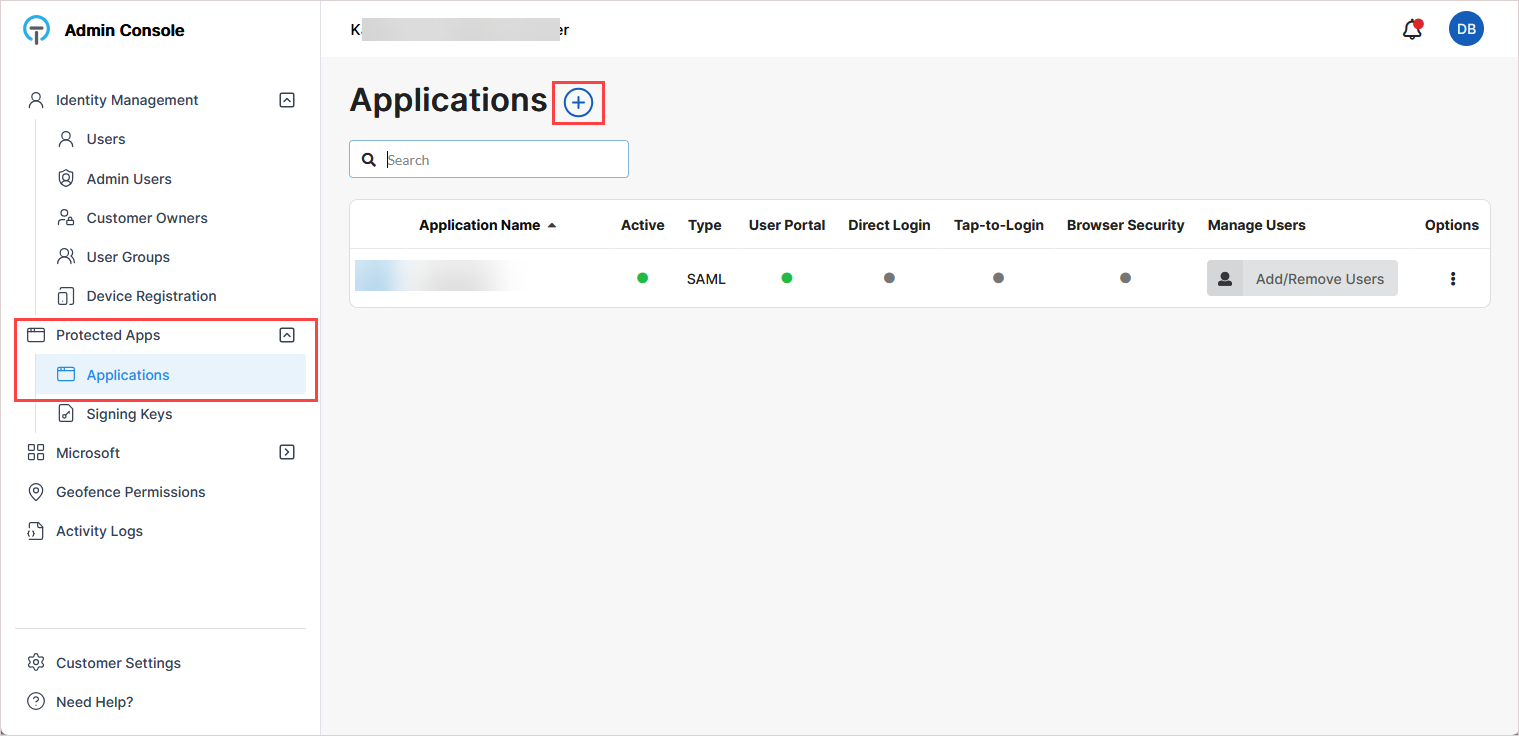
Navigate to Protected Apps > Applications.
-
On the Applications page, click +.
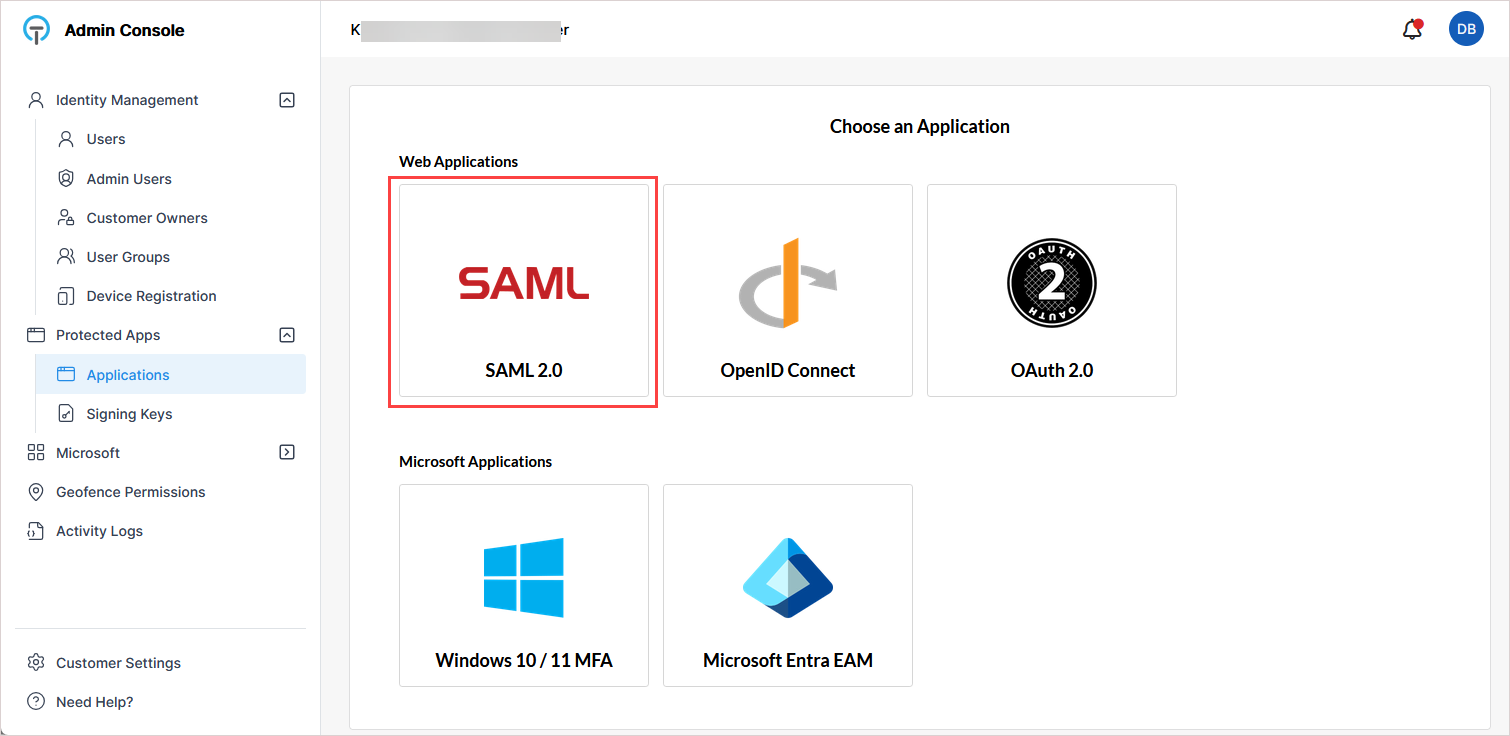
-
On the Choose an Application page, click SAML.
-
On the New Application page, click Use a Template.
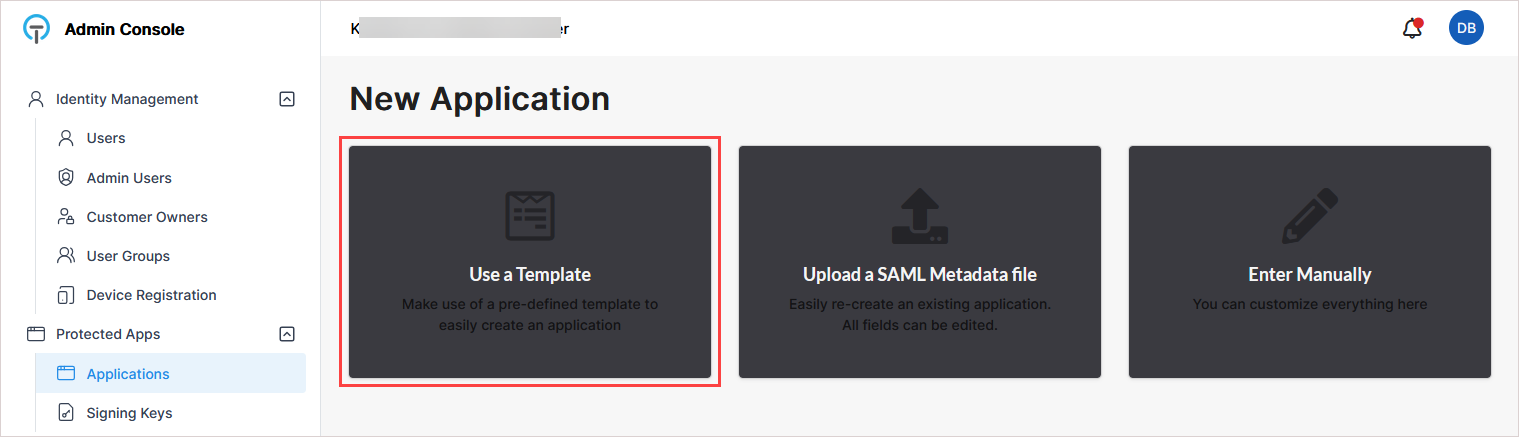
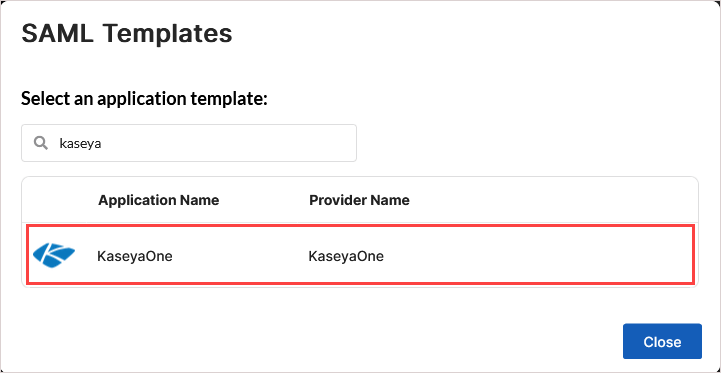
-
In the SAML Templates dialog, select KaseyaOne.
-
On the New Application page, enter an application name (for example, KaseyaOne).
-
Click Submit.

After submission, the application's configuration page opens. Most SAML settings are pre-configured by the template.
NOTE The only required manual configuration in TraitWare is the company identifier claim.
-
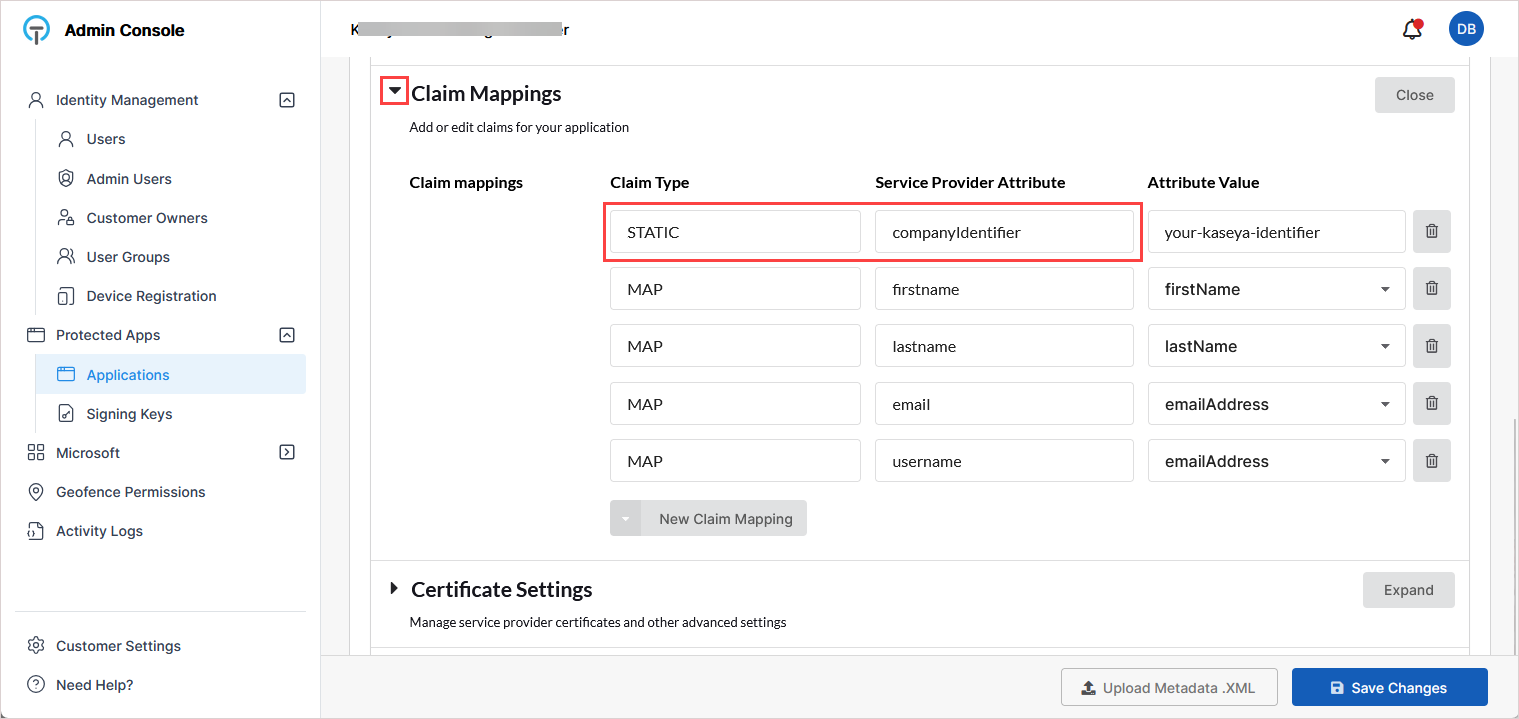
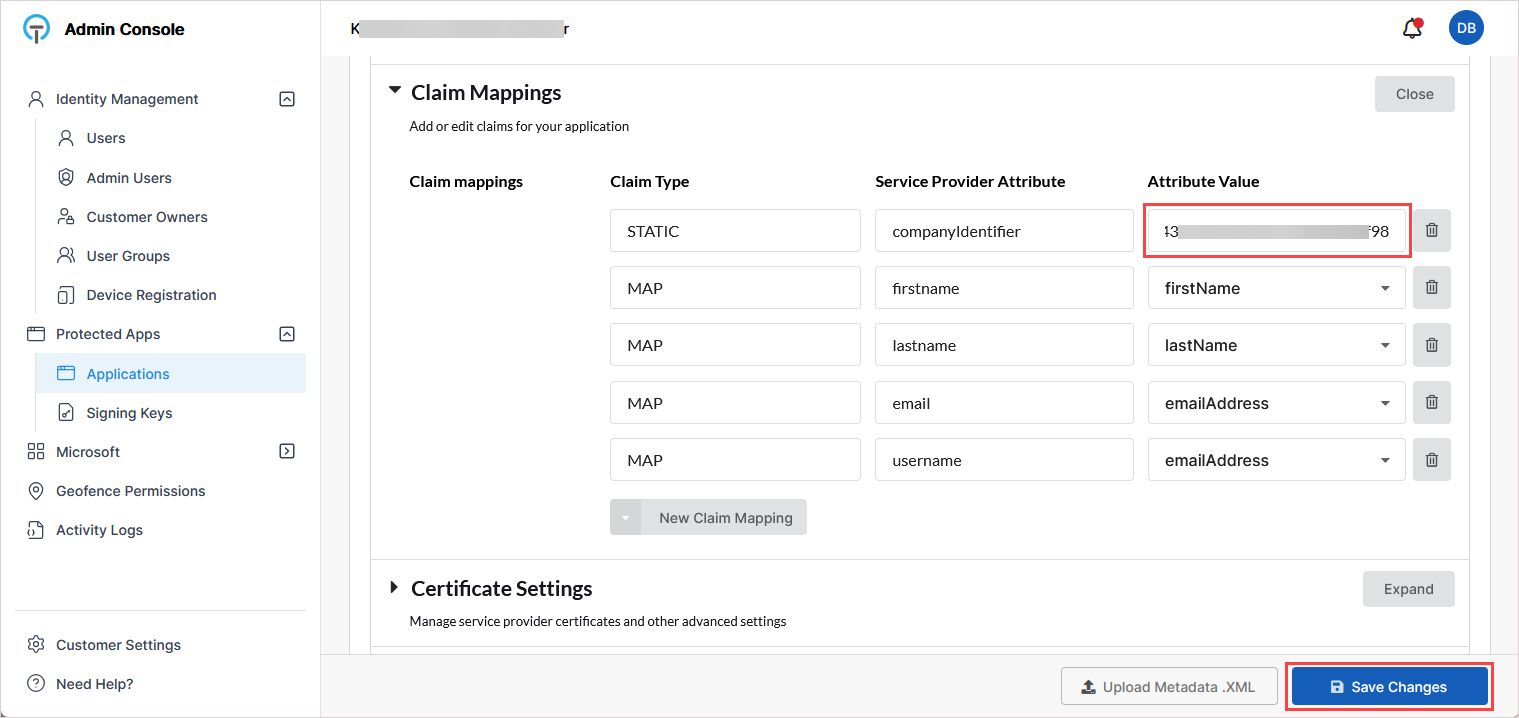
On the application's configuration page, scroll down and expand Claim Mappings.
-
Locate the claim with:
Claim Type: STATIC
Service Provider Attribute: companyIdentifier
-
Retrieve the company identifier from KaseyaOne:
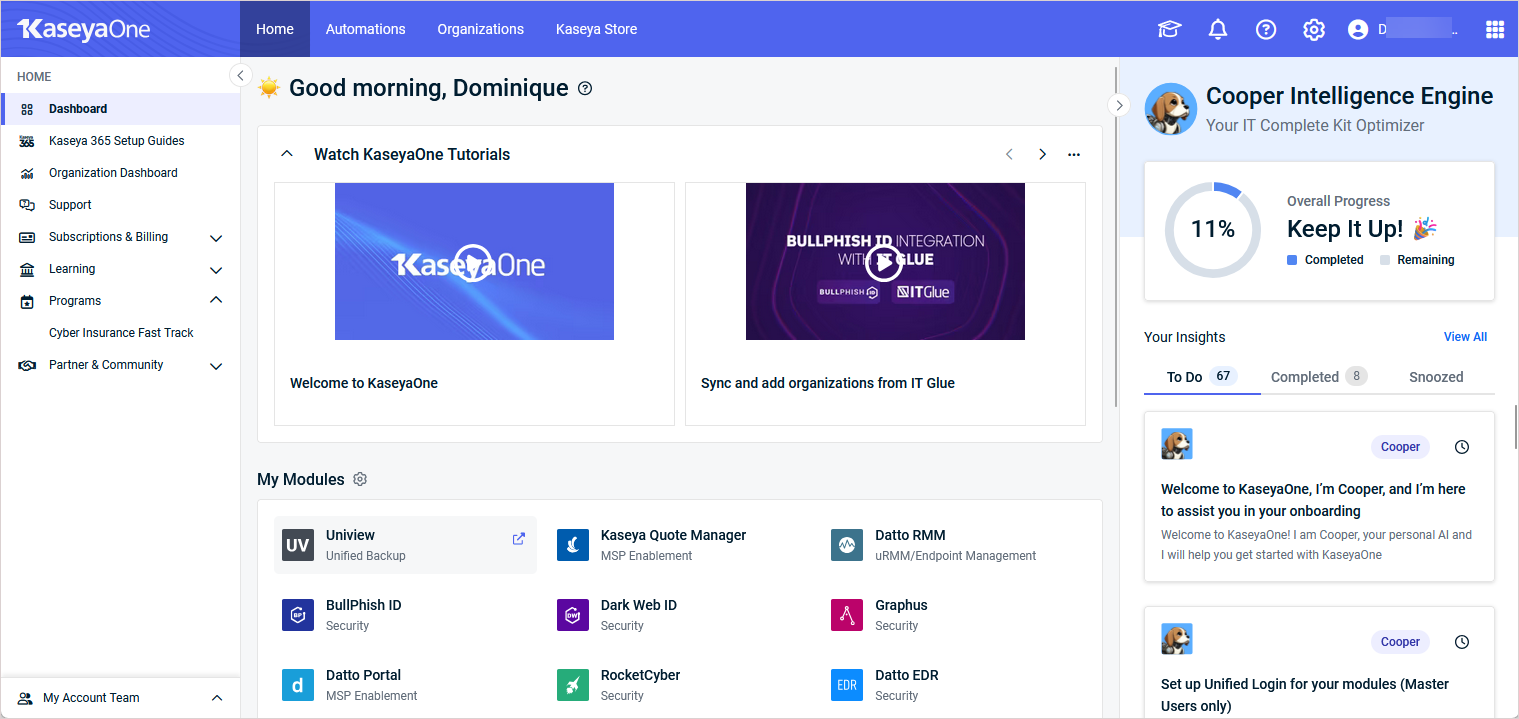
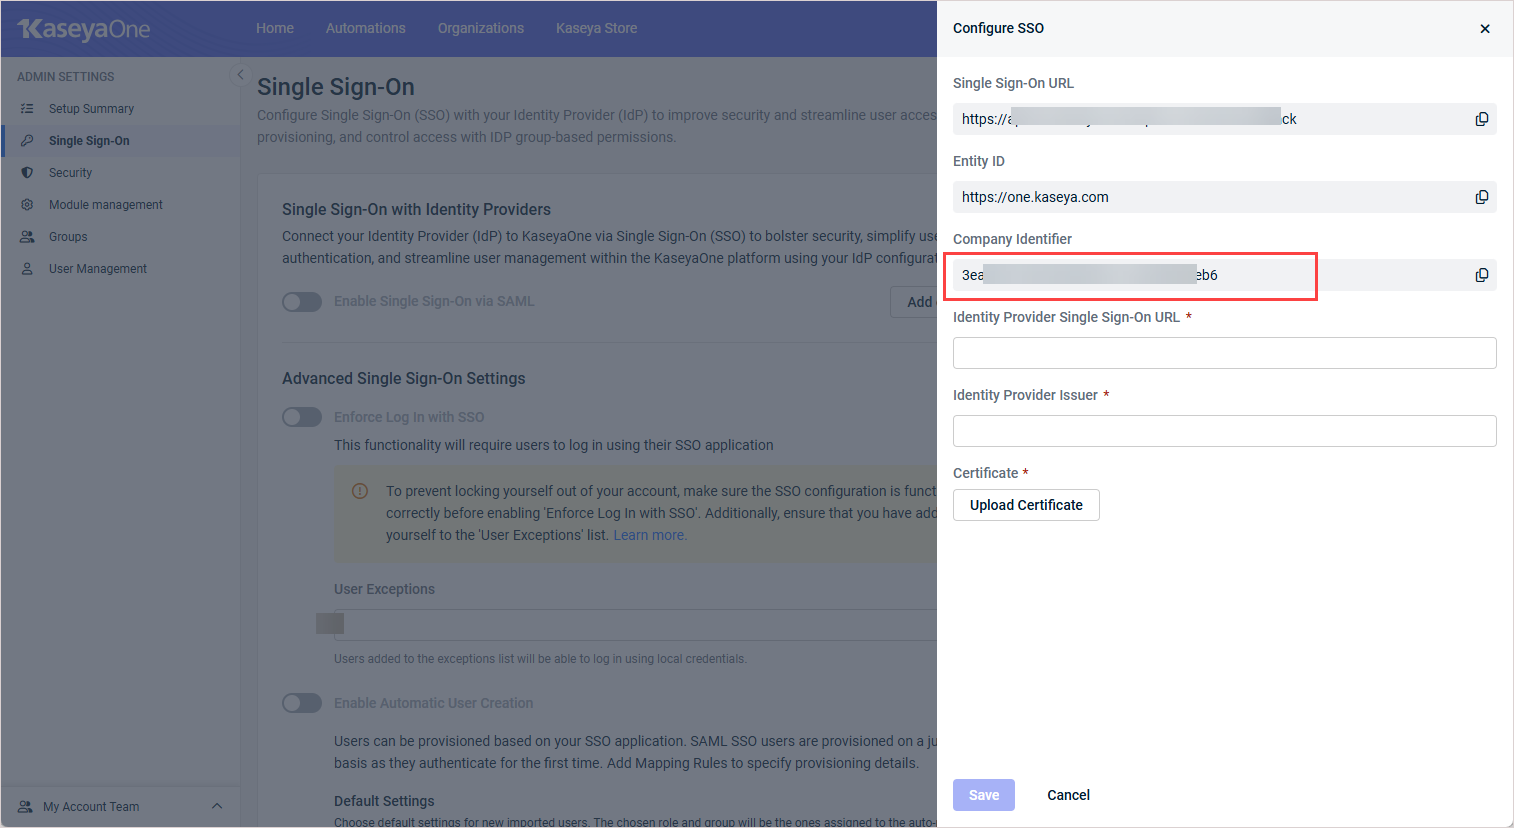
In KaseyaOne, click the gear icon in the top-right corner and go to Admin Settings > Single Sign On.
Click Add configuration (or Edit configuration).
In the Configure SSO pane, copy the Company Identifier value.
-
Apply the company identifier in TraitWare:
In TraitWare, return to the Claim Mappings section on the application's configuration page.
Paste the copied value into the Attribute Value field for companyIdentifier.
Click Save Changes below.
All other claim mappings remain unchanged.
-
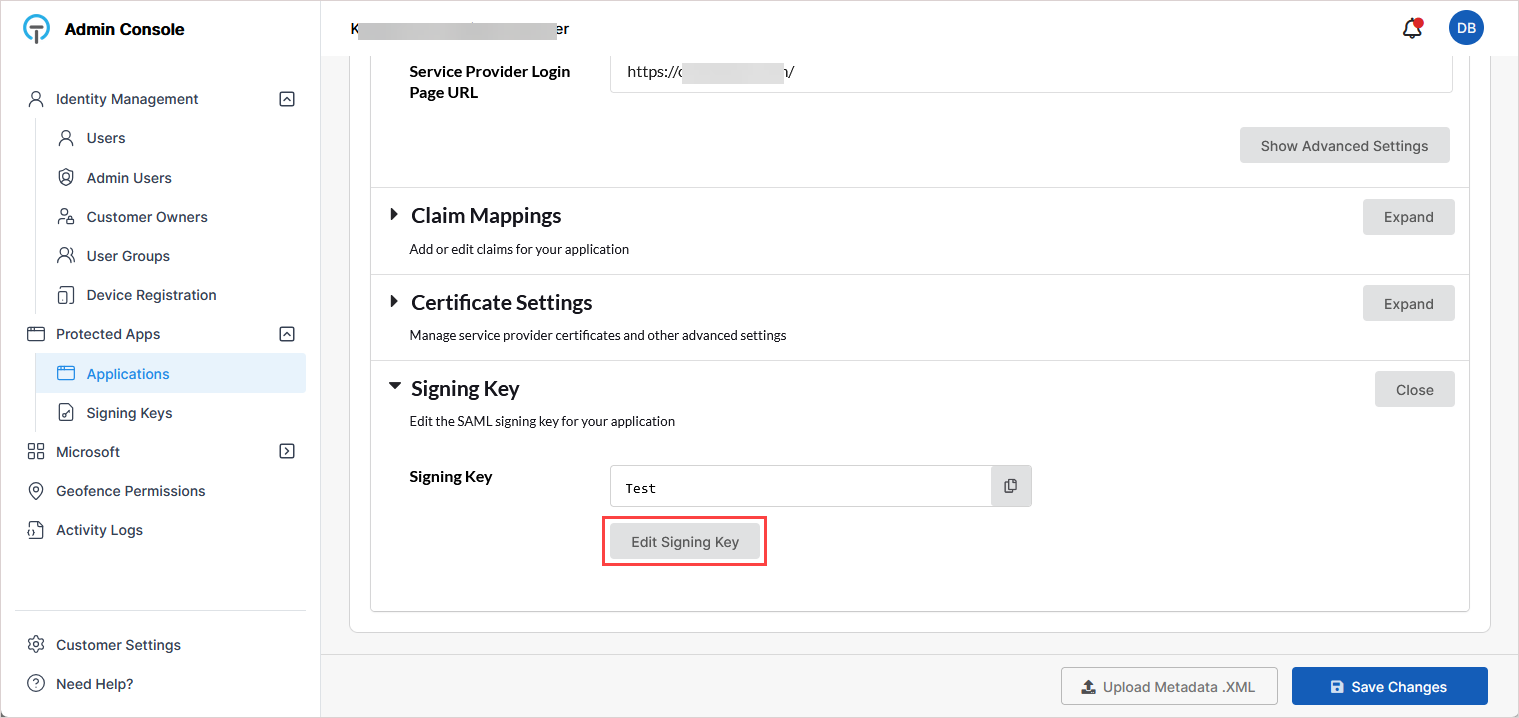
On the application's configuration page, scroll down and expand the Signing Key section.
-
Click Edit Signing Key.
-
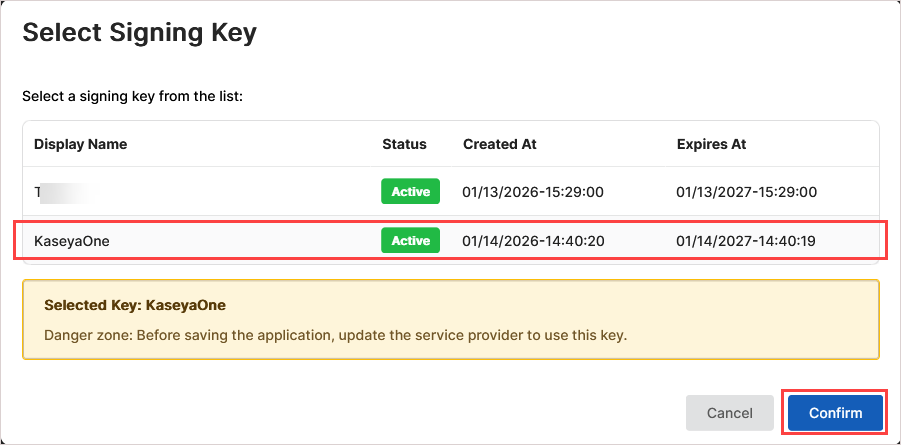
In the Select Signing Key dialog, select the KaseyaOne-specific signing key. Then click Confirm.
NOTES
- It is best practice to use a dedicated signing key per application.
- If needed, you can add a signing key for KaseyaOne as described below in To create a dedicated signing key.
-
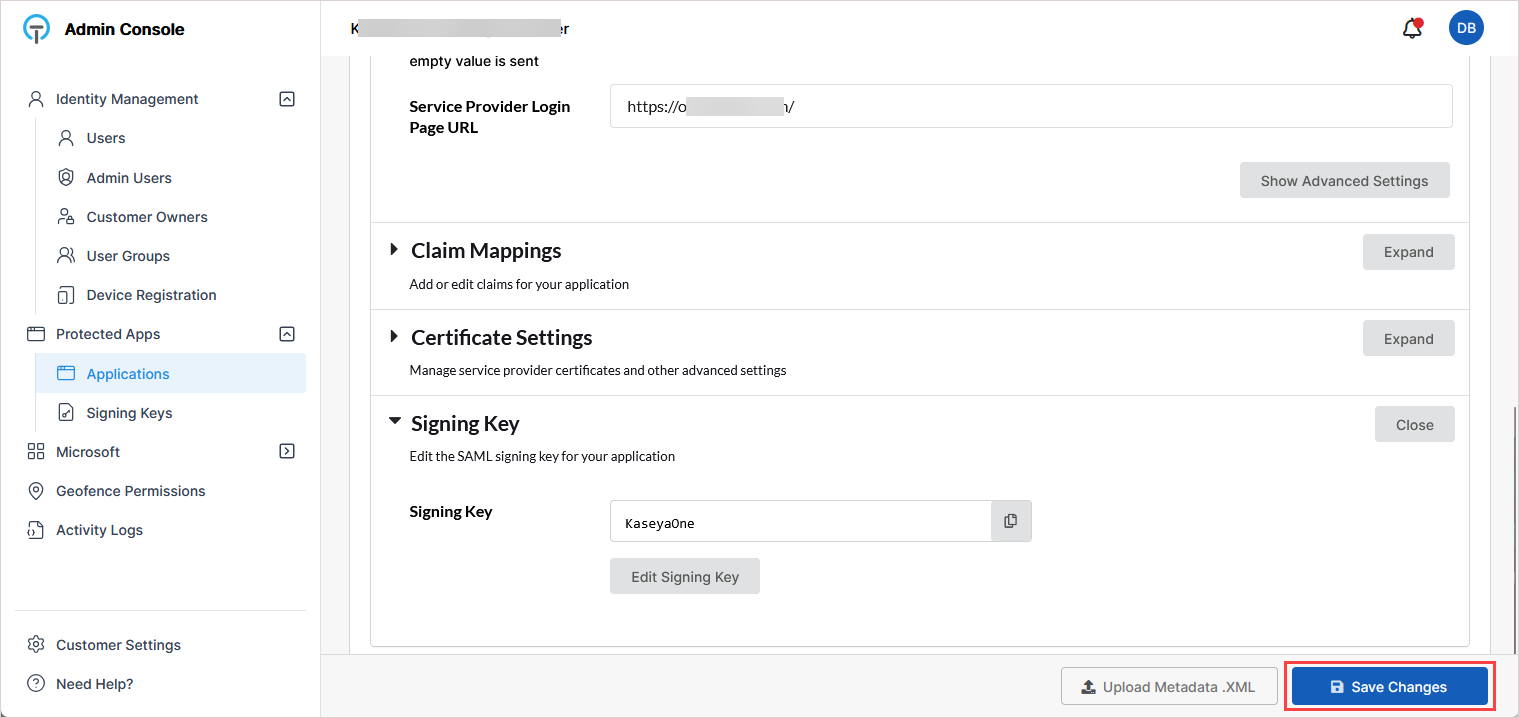
On the application's configuration page, click Save Changes at the bottom of the page to finalize the TraitWare configuration.
If a dedicated signing key does not already exist, create one before assigning it to the application:
-
In the TraitWare Admin Console, go to Protected Apps > Signing Keys.
-
Click Generate New Key.
-
Enter a descriptive name (for example, KaseyaOne).
-
Click Generate.
-
Confirm the key status is Active.
-
Return to Protected Apps > Applications.
-
Open the KaseyaOne application and assign the newly created key using Edit Signing Key.
-
In TraitWare, return to Protected Apps > Applications and open the KaseyaOne application.
-
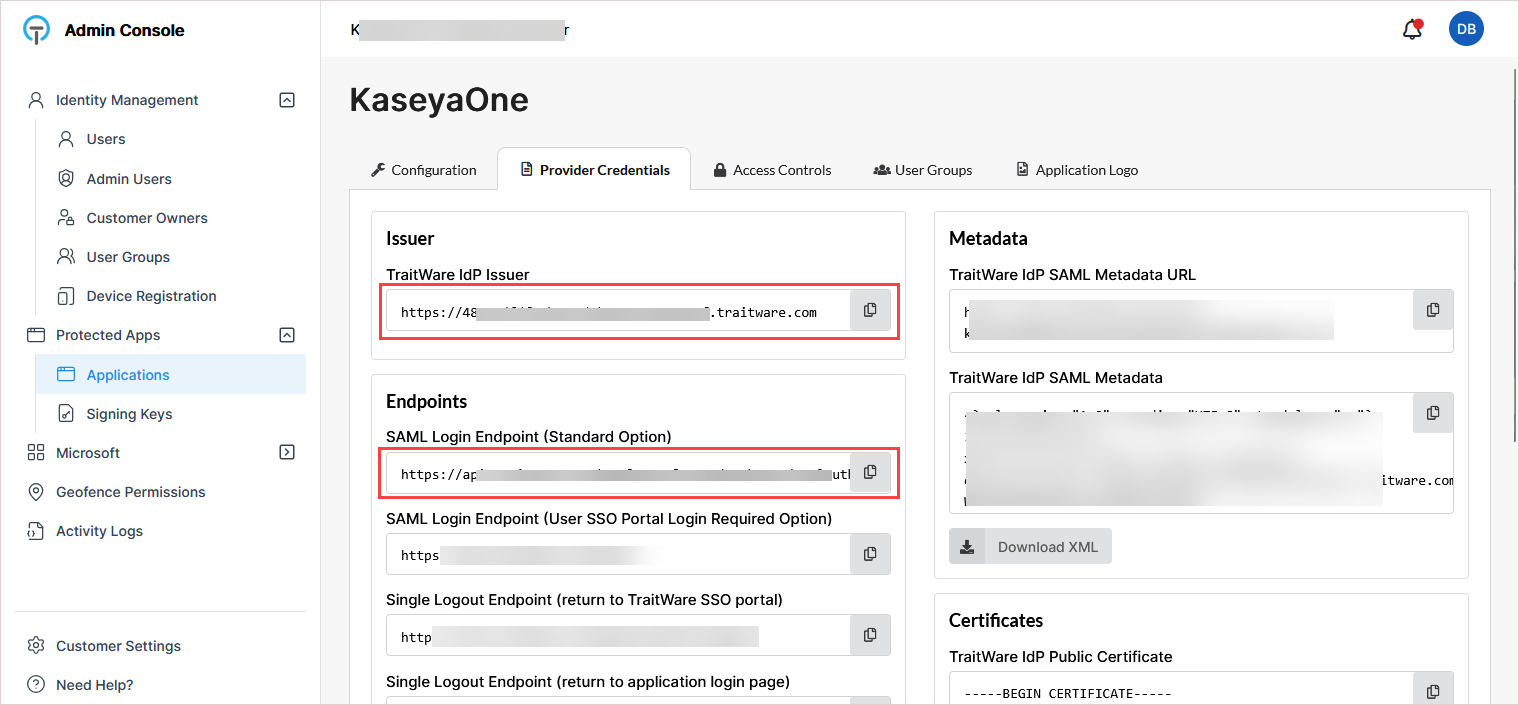
Go to the Provider Credentials tab.
-
Copy and save these values: TraitWare IdP Issuer and SAML Login Endpoint (Standard Option).
Keep these value available as you will paste them into KaseyaOne in the next procedure.
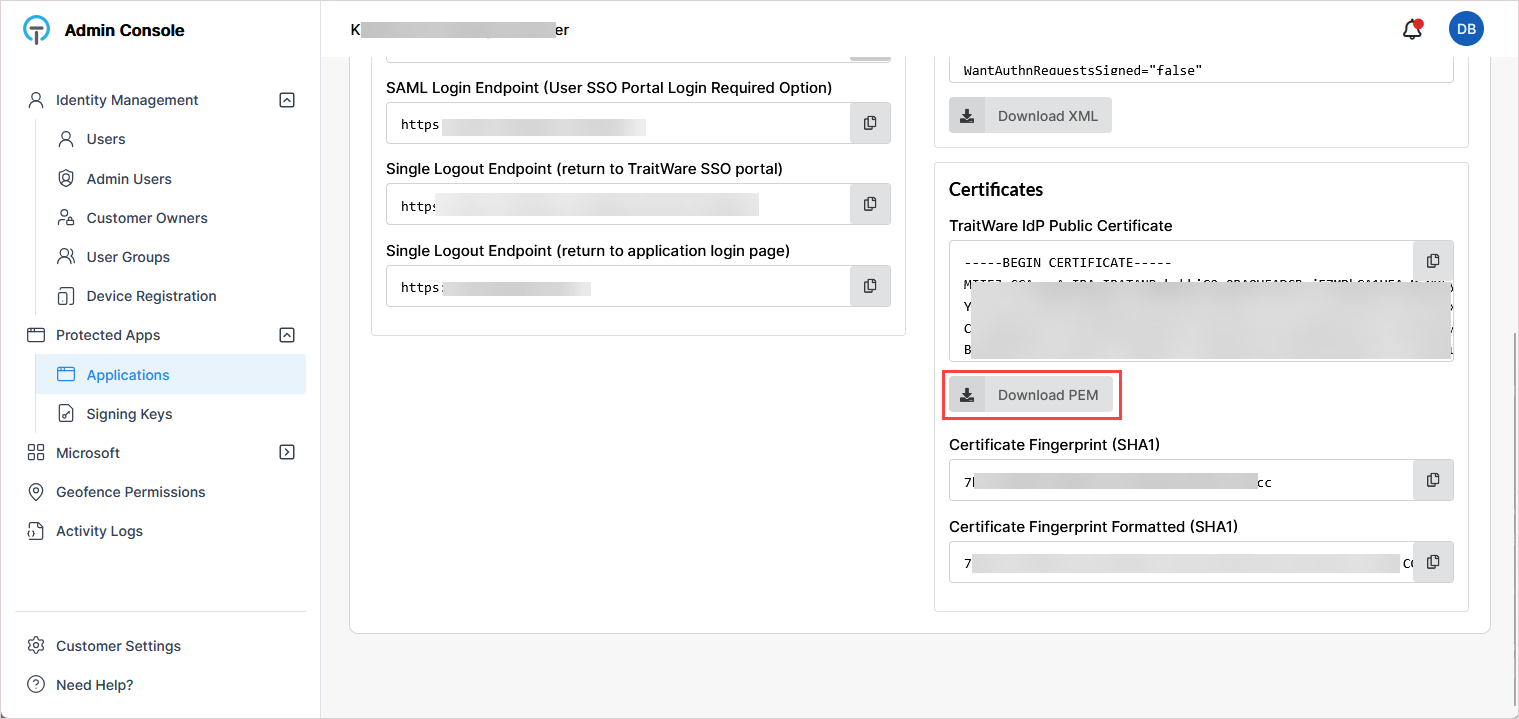
-
In the Certificates section, click Download PEM to download the TraitWare certificate.
You will upload this certificate to KaseyaOne in the next procedure.
-
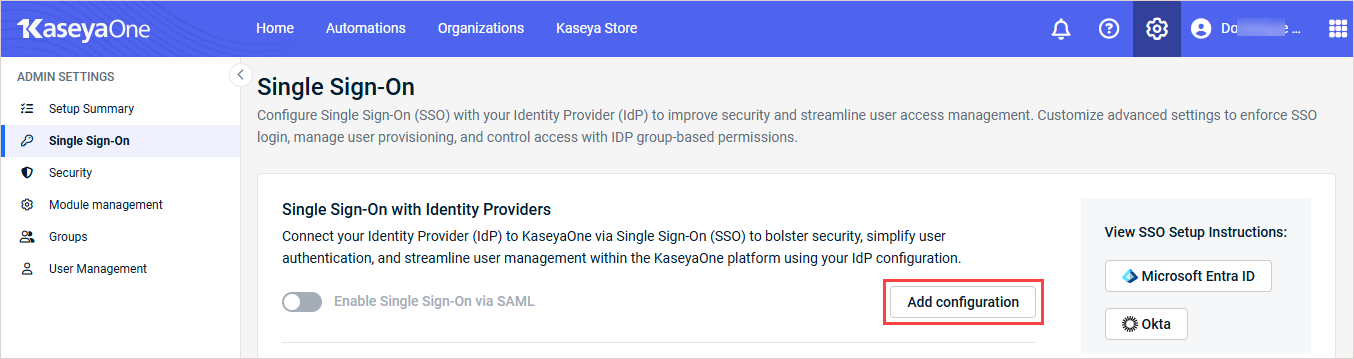
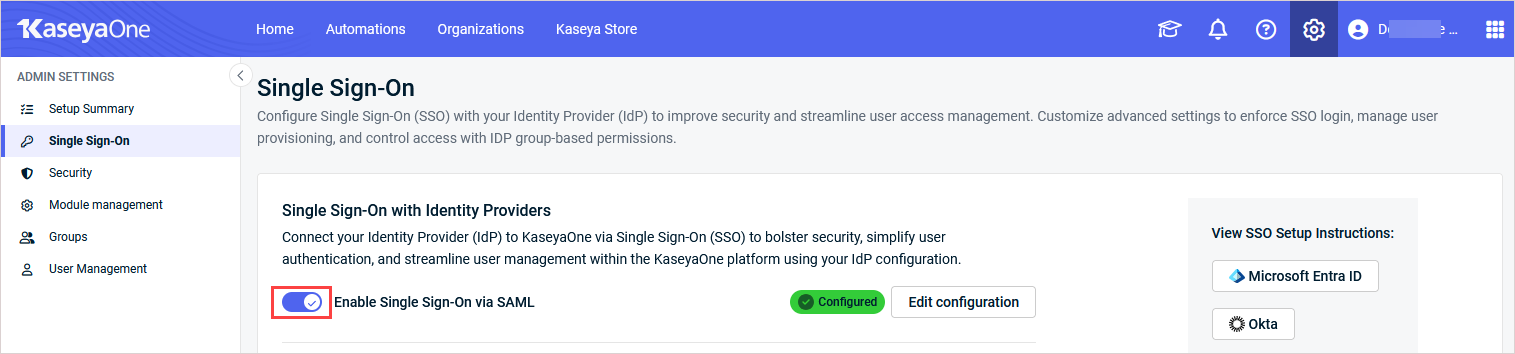
In KaseyaOne, click the gear icon in the top-right corner and go to Admin Settings > Single Sign On.
- In the Single Sign-On with Identity Providers section, click Add configuration (or Edit configuration).
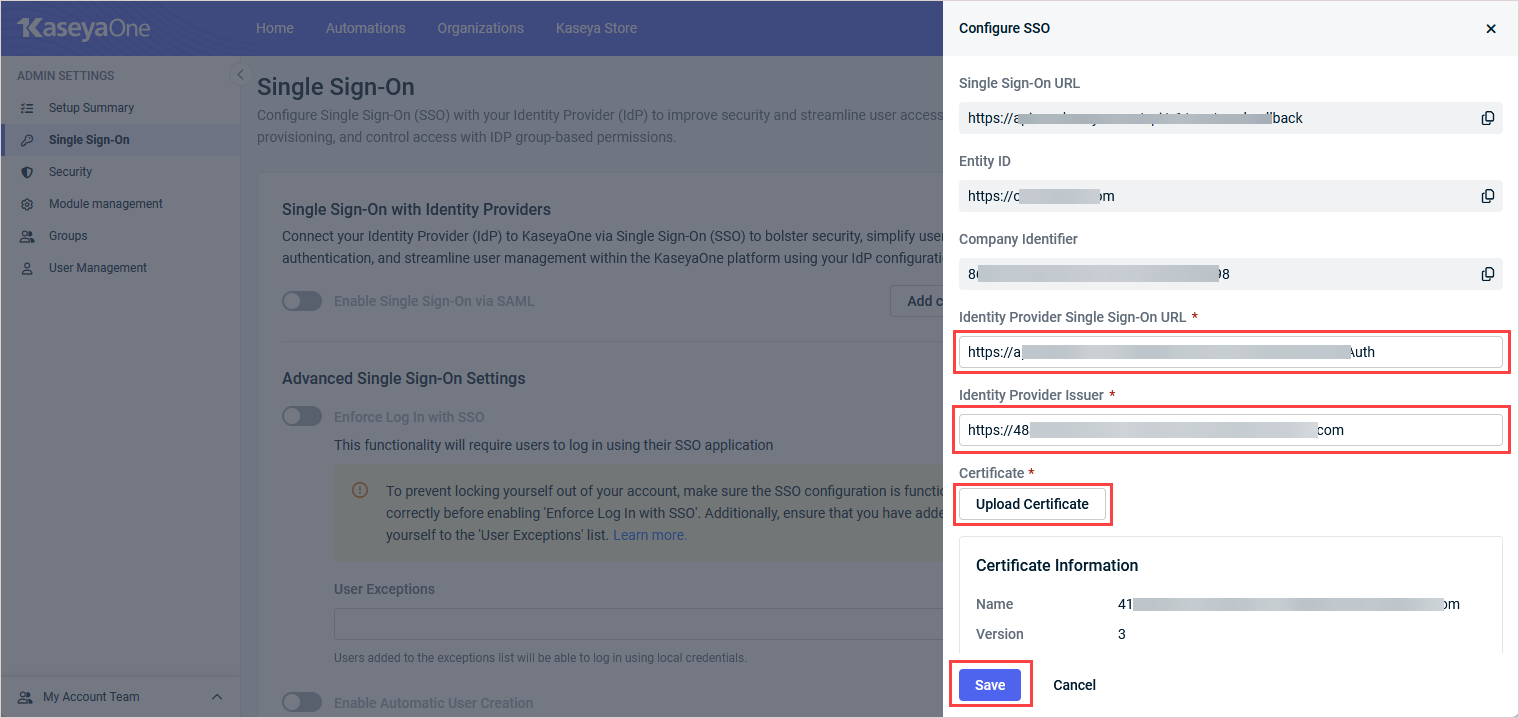
- In the Configure SSO pane, enter the following information that you copied from TraitWare:
- Identity Provider Single Sign-On URL: Enter the SAML Login Endpoint (Standard Option) in this field.
- Identify Provider Issuer: Enter the TraitWare IdP Issuer in this field.
-
Click Upload Certificate and upload the TraitWare .pem file.
Once uploaded, certificate details display automatically.
-
Click Save.
-
On the Single Sign-On page in KaseyaOne, turn on the Enable Single Sign-On via SAML toggle.
-
(Recommended) Use these steps to enable Just-In-Time (JIT) provisioning for users who do not yet exist in KaseyaOne:
In the Advanced Single Sign-On Settings section, turn on the Enable Automatic User Creation toggle to enable the feature.
- If enabled, user accounts are automatically created with the specified default role when users authenticate for the first time
- If disabled, users must ask their administrator to create a user account for them with the required role after they authenticate.

In the Default Role field, click the drop-down arrow and select one role to assign to auto-provisioned users. You can select Admin, Billing and Purchasing, User, or Co-Managed User. (Refer to Managing KaseyaOne users.)
In the Default Groups field, click the drop-down arrow and select one or more group(s) where auto-provisioned users will be assigned. (Refer to Managing KaseyaOne groups.)
Changes are automatically saved.
-
In TraitWare, use the Users and User Groups pages under Identity Management to add or modify the users and groups that will have access to the KaseyaOne application.
-
Return to Protected Apps > Applications and open the KaseyaOne application.
-
On the User Groups tab, turn on toggles as needed to grant groups access to the KaseyaOne application.
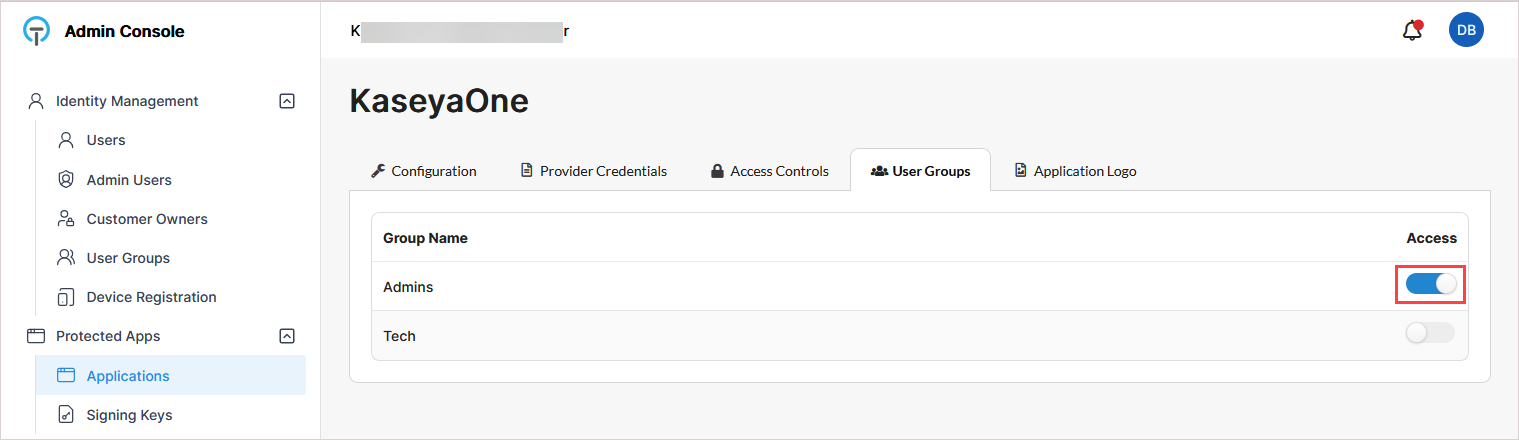
IMPORTANT TraitWare does not support group-based SAML claims. Group-based access control in KaseyaOne via IdP claims is not available.
To validate the setup:
-
Open an incognito/private browser.
-
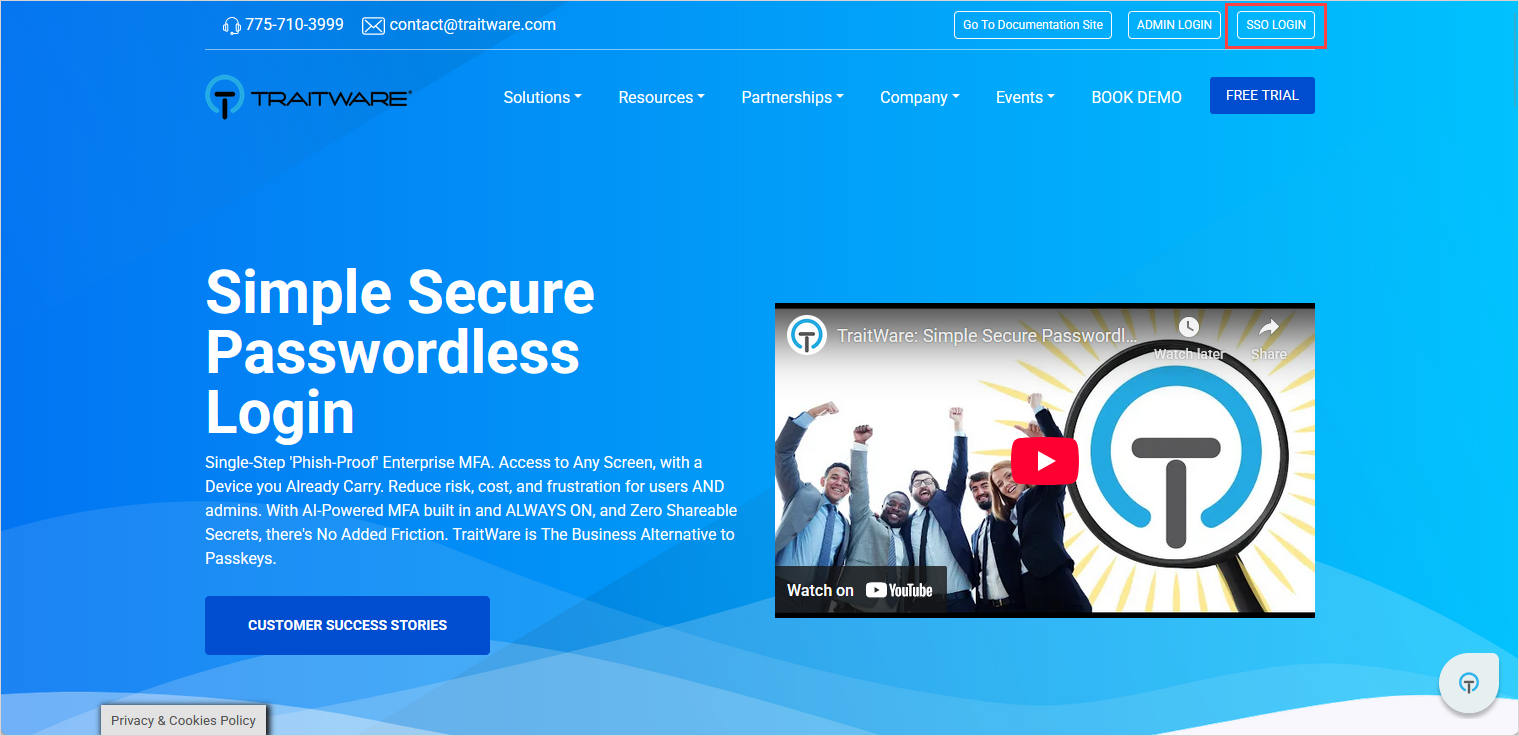
Go to traitware.com.
-
Click SSO Login (not Admin Login).
-
Complete the authentication using the mobile QR code.
-
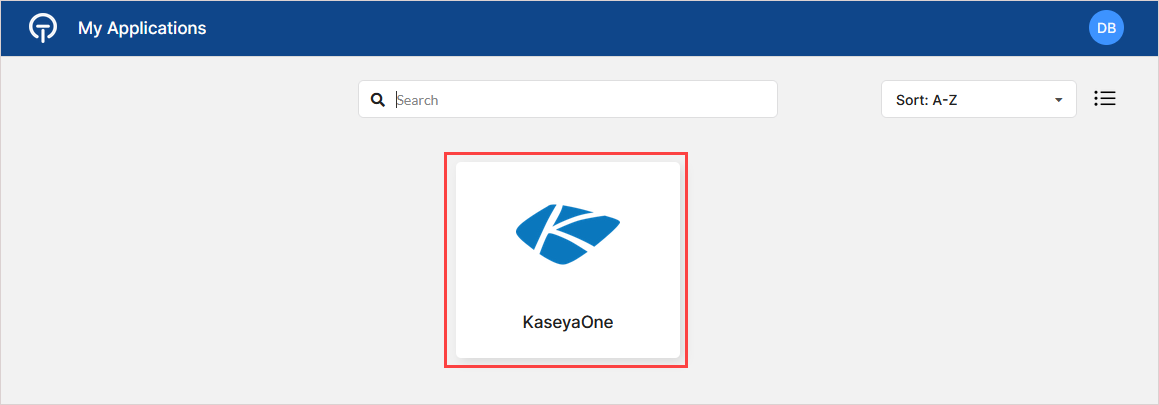
After successful authentication:
The KaseyaOne tile displays.
Clicking the tile launches KaseyaOne. The user is logged in without additional authentication.