Setting up push multifactor authentication for Unified Login
NAVIGATION Header > My Account > My Settings > Security
PERMISSIONS All roles
For extra security in KaseyaOne, Unified Login is coupled with identity governance in the form of push multifactor authentication (MFA). The KaseyaOne Authenticator app facilitates this push MFA process. Configuring the KaseyaOne Authenticator app and connecting at least one trusted device allows for the following:
- You can opt to receive push MFA notifications when accessing your KaseyaOne account from trusted devices, making it easier, faster, and more secure for you to log in (compared to 2FA).
- Push MFA is automatically enabled and serves as the default method used to verify your identity when accessing your KaseyaOne account.
- Two-factor authentication (2FA) continues to be available as usual.
Instructions follow on how to set up push MFA for your KaseyaOne account.
The following procedures show you how to download and install the KaseyaOne Authenticator app from Google Play (for Android devices such as the Samsung Galaxy tablet) or the Apple App Store (for iOS devices such as iPhone or iPad).
-
Go to Google Play and search for the following app: KaseyaOne Authenticator.
Alternatively, scan the following QR code or click the Google Play icon to download the app. -
Tap Install.
-
Follow the on-screen instructions to install the app on your mobile device.
-
Go to the Apple App Store and search for the following app: KaseyaOne Authenticator.
Alternatively, scan the following QR code or click the Apple App Store icon to download the app. -
Tap Get.
-
Touch ID/scan your Face ID or enter your Apple ID password to install the app on your mobile device.
-
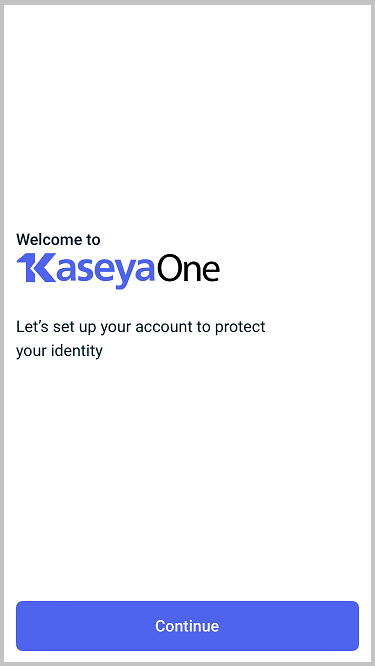
Tap Open to open the app.
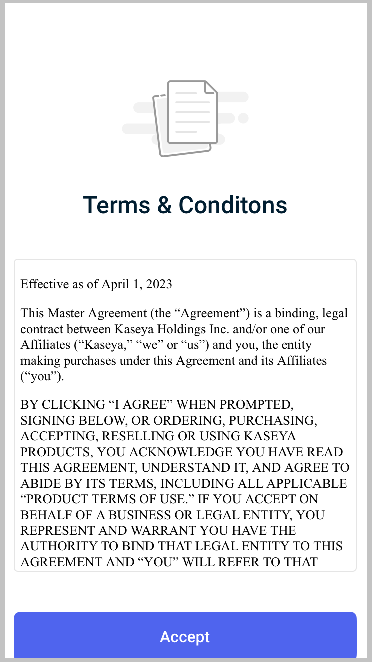
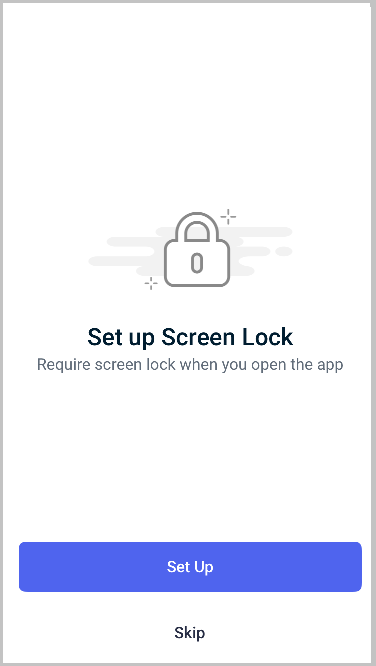
Configuring the KaseyaOne Authenticator app involves accepting the terms and conditions (the first time you access the app), configuring the app settings, then adding an account for your (trusted) mobile device.
-
When prompted, use the camera to capture your Face ID or touch the fingerprint sensor to confirm your identity using your fingerprint.
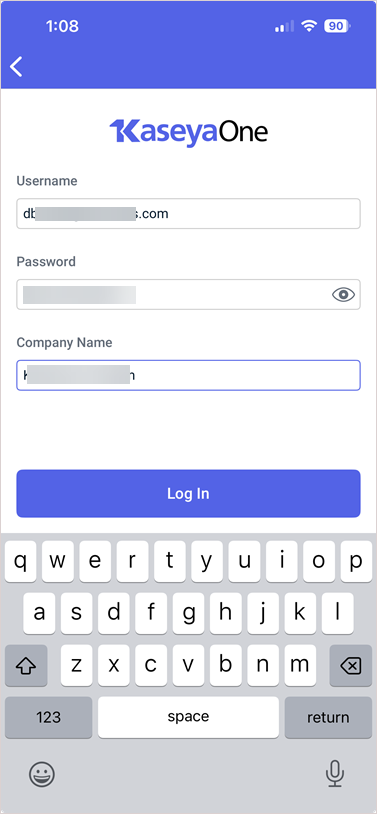
Enter the Username, Password, and Company Name for your KaseyaOne account and tap Log In.
Enter the 2FA authentication code when prompted and tap Yes, it's me.
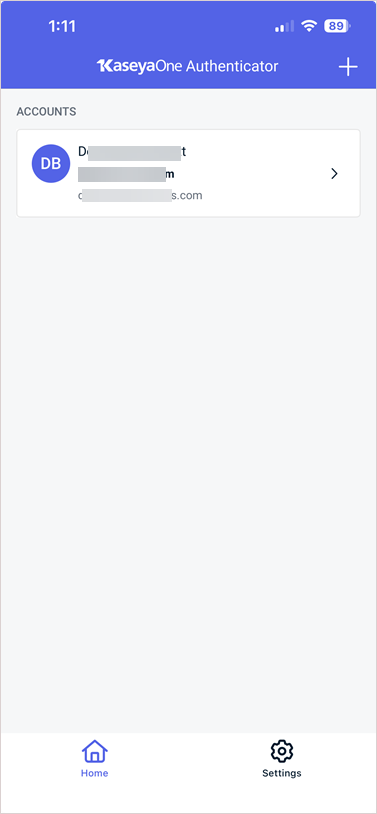
Tap Done on the next screen. Your account appears in the KaseyaOne Authenticator app in the Accounts list on the Home screen. You also receive notification by email confirming that your device was added to your account.
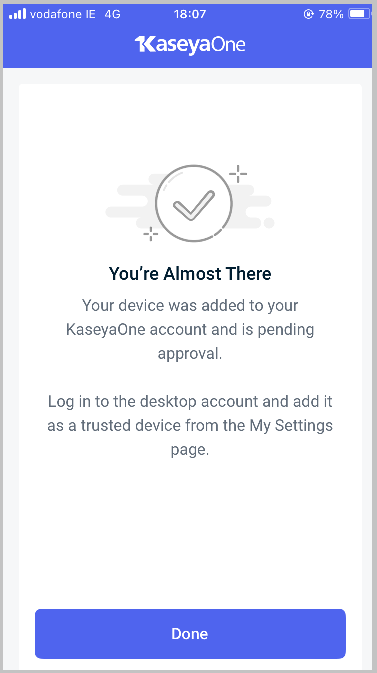
Repeat this step as required to add another account — that is, connect your device to another KaseyaOne account.
NOTE After you connect your first trusted device, push MFA is automatically enabled for you and it will be the default method used to verify your identity when accessing your KaseyaOne account. Two-factor authentication (2FA) will continue to be available as usual.
After you set up push MFA for your KaseyaOne account and add at least one trusted device, the KaseyaOne Authenticator app will be used to verify your identity whenever you access your KaseyaOne account. The steps to log in to your KaseyaOne account using push MFA follow.
NOTE The procedure to log in to your KaseyaOne account using push MFA is different than the procedure described in Log In with KaseyaOne which uses two-factor authentication (2FA) only.
-
On the KaseyaOne login page:
-
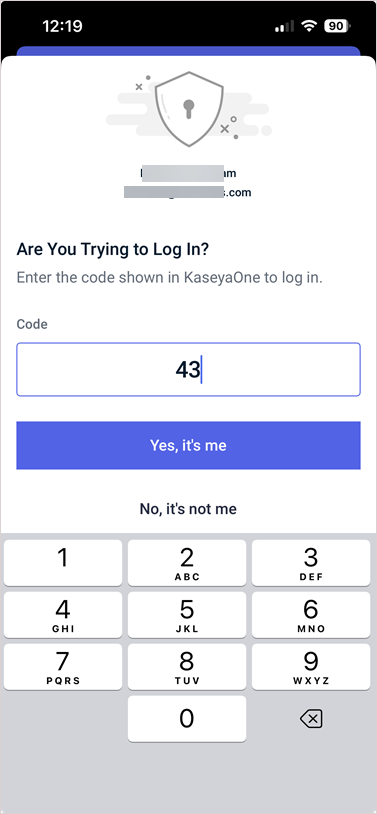
When prompted to approve this login, you will enter the number shown (43 in this example) into the KaseyaOne Authenticator app (as described in the next step).
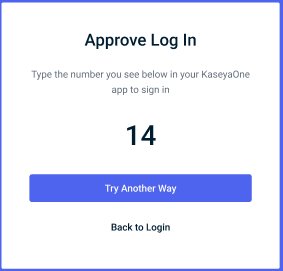
NOTE If you don't want to use the KaseyaOne Authenticator app to approve this login (maybe you've misplaced your mobile device or the battery is depleted), click Try Another Way to log in using 2FA in the usual way.
-
In your mobile device:
You receive a notification message asking if you are trying to log in to KaseyaOne now — tap the message to open it.
(Optional) Tap Unlock to unlock your mobile device using Face ID or to confirm your identity using your fingerprint.
Enter the number shown in KaseyaOne (43 in this example) to log in and then tap Yes, It's Me.
NOTE You must enter the number and confirm that it's you in a timely manner, otherwise you will have to go back to KaseyaOne and select a different option — you can choose to Send Another Request (resend the log in request to the KaseyaOne Authenticator app) or Try Another Way ( log in to your account using the usual 2FA).
-
If log in is successful, the KaseyaOne portal opens.
How to...
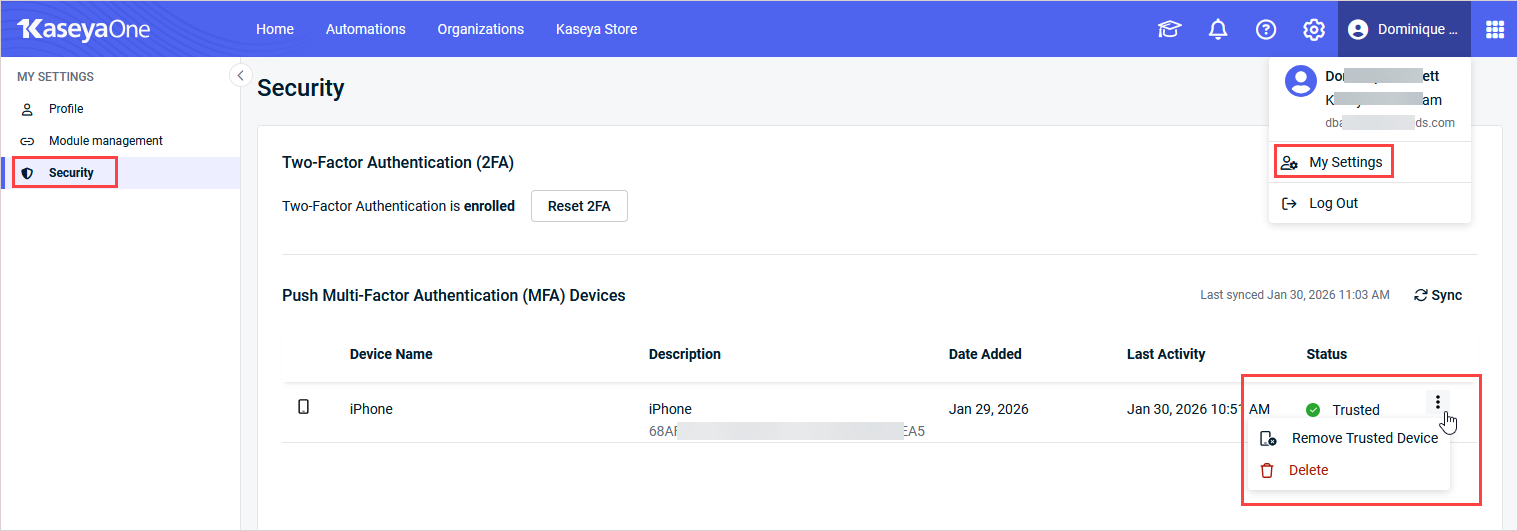
To remove a trusted device (or mark a device as not trusted) in KaseyaOne:
- Navigate to the Security page within My Settings. Refer to Security and navigation.
- In the Push Multi-Factor Authentication (MFA) Devices section, locate the device and mark it as not trusted:
- In the Status field, click the three dot icon and select Remove Trusted Device.
- Click Remove when prompted for confirmation.
- The device's status changes to Not Trusted, the device is removed from the trusted device list, and you will no longer be able to use it for push MFA.
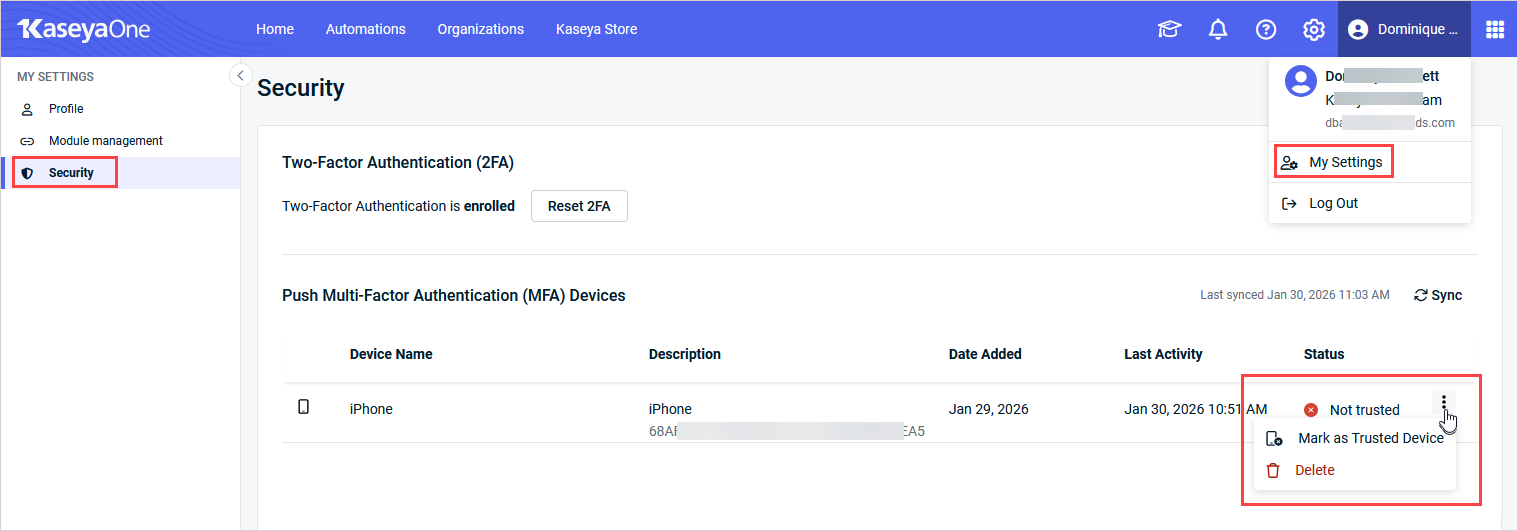
If you mark a device as not trusted in KaseyaOne, you can manually mark the device as trusted again as shown in the following procedure. If you delete a trusted or not trusted device in KaseyaOne, it will be removed altogether from the Push Multi-Factor Authentication (MFA) Devices list.
-
Navigate to the Security page within My Settings. Refer to Security and navigation.
-
In the Push Multi-Factor Authentication (MFA) Devices section, locate the device and mark it as trusted:
- In the Status field, click the three dot icon and select Mark As Trusted Device.
- The device's status changes to Trusted.
Known limitations (Android)
When you clear the application data for the KaseyaOne Authenticator app or reset your Android device to the factory settings, the Android OS resets the unique device ID as well. As a result, your Android device appears as a new but Not Trusted device in KaseyaOne. To proceed, you must mark the new device as a Trusted device and mark any old device IDs that are no longer relevant as Not Trusted.


