Configuring your user account settings
NAVIGATION Header > My Account > My Settings
PERMISSIONS All roles
All users can manage their profile details, modules, and authentication settings within My Settings.
NOTE You cannot reset your password from within My Settings. You must reset your password from the login page. Refer to How do I reset my KaseyaOne password?
Profile
NAVIGATION Header > My Account > My Settings > Profile
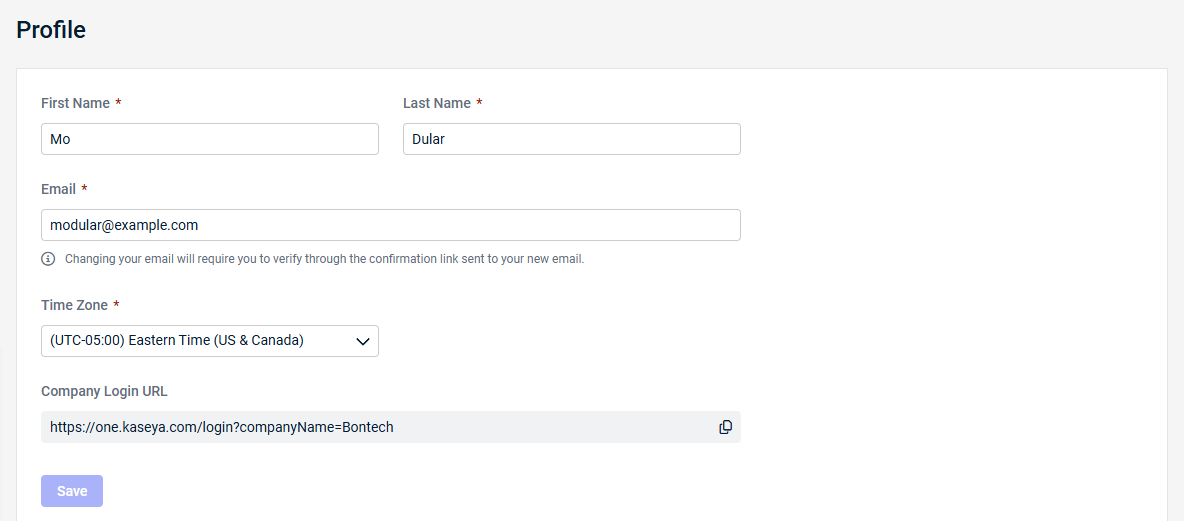
On the Profile page, the First Name, Last Name, Email, and Time Zone values currently associated with your KaseyaOne user account are prepopulated and editable. If you edit any of your profile details, click Save.
-
If you change your email address, the address will not be updated until you click on the confirmation link sent to the new email address. After you click the link and receive confirmation that the address has been updated, it displays in the Email field on the Profile page.
-
Changing your email address on the Profile page changes the email associated with your KaseyaOne user account only. To change your company's billing email address, you must open a billing ticket. Refer to Submit a billing ticket.
The Company Login URL is the unique login URL of your KaseyaOne account. Using this unique URL eliminates the need to enter the account company name in the Company Name field upon login (as you would if logging in via the generic login URL, one.kaseya.com/login). You can copy this URL by clicking the copy icon ![]() .
.
TIP You may wish to bookmark this page for faster login
Module Management
NAVIGATION Header > My Account > My Settings > Module Management
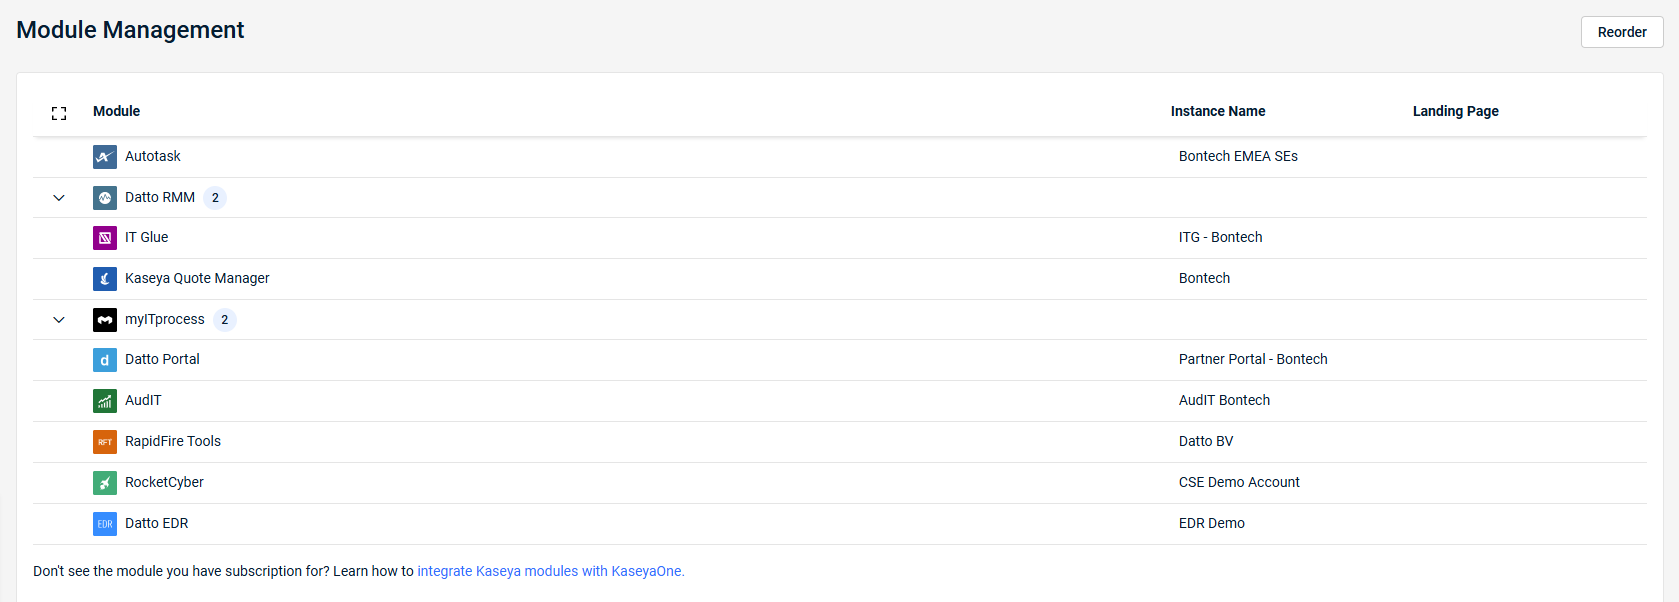
View a list of the Kaseya modules to which you are subscribed as well as the login URLs where you would log in to each module. KaseyaOne administrators (users with the Admin role) are responsible for configuring these modules, but you can change the URLs which is useful if you prefer a different landing page.
Refer to My Modules and App Launcher to learn about how modules are assigned to you and how to launch your assigned modules from within KaseyaOne.
How to...
- Locate the module instance you want to change and then click its Instance Name field.
- Modify the name as required and then click the check mark icon to save the changes.
- Locate the module instance you want to change and then click its Landing Page field.
- Modify the login URL as required and then click the check mark icon to save the changes.
By default, modules are listed in alphabetical order. Use drag & drop to reorder the list of modules.
- Click Reorder.
- Use drag and drop to reorder the modules and module instances as required.
- Click Confirm when done.
Security
NAVIGATION Header > My Account > My Settings > Security
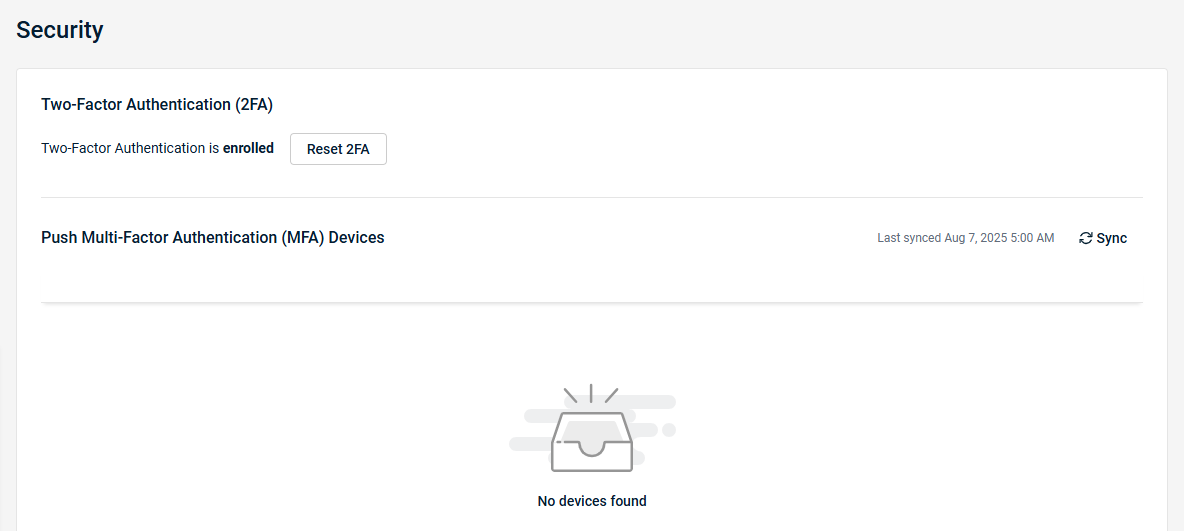
The Security page allows you to reset the two-factor authentication settings for your account, enable push MFA for your KaseyaOne account, and add devices for push MFA authentication.
How to...
You may want to reconfigure two-factor authentication for your account if, for example, you lost your device or are moving to a new phone. Click Reset 2FA on the Security page. Note that if you are locked out of your account, a user with a Admin role can reset 2FA for you.
To mark a push MFA device as trusted or not trusted, complete the following steps:
-
Navigate to the Security page within My Settings. Refer to Security and navigation.
-
In the Push Multi-Factor Authentication (MFA) Devices section, click the three dot icon next to the device you want to change and select one of the following as required:
- Select Mark As Trusted Device to mark the device as trusted. The device's status changes to Trusted.
- Select Remove Trusted Device and click Remove when prompted for confirmation to mark the device as not trusted. The device's status changes to Not Trusted.
Refer to Setting up push multifactor authentication for Unified Login for more information.
To delete a push MFA device, complete the following steps:
- Navigate to the Security page within My Settings. Refer to Security and navigation.
- In the Push Multi-Factor Authentication (MFA) Devices section, click the three dot icon next to the device you want to remove and select Delete.
- Click Delete again to execute the action.
The device is removed from the Push Multi-Factor Authentication (MFA) Devices list.
Refer to Setting up push multifactor authentication for Unified Login for more information.
Switch to dark mode
NAVIGATION Header > My Account > Theme
Customize your experience by choosing your preferred theme under My Account > Theme: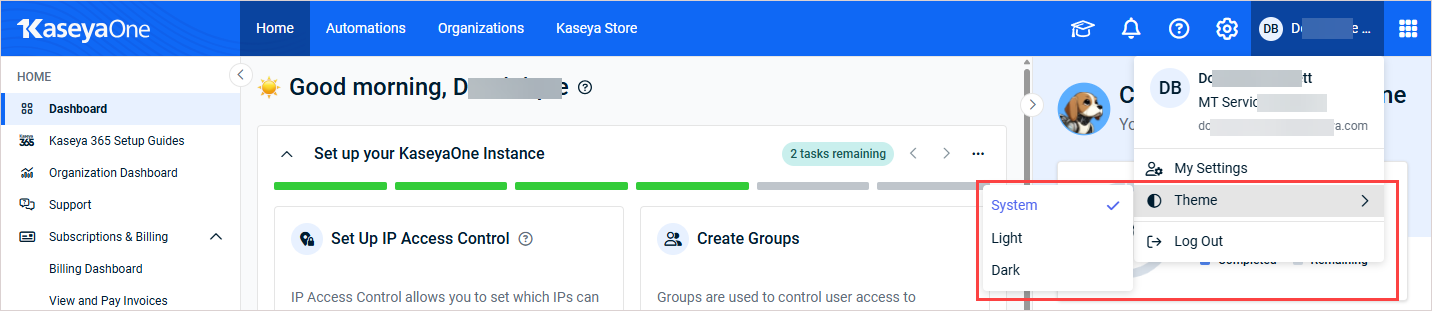
By default, KaseyaOne automatically matches your system setting.
-
To switch to dark mode, select Dark.
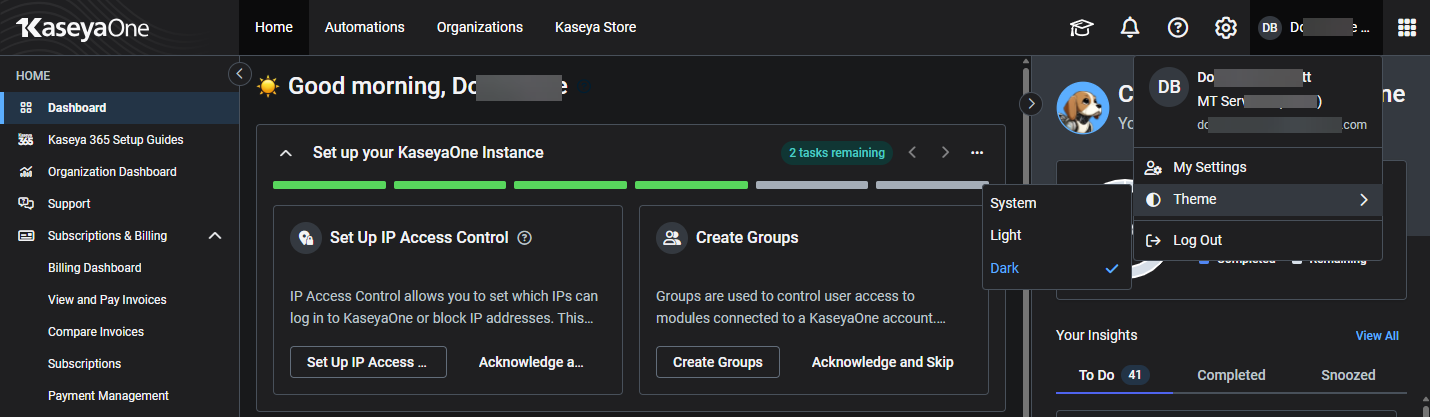
-
To switch back to light mode, select Light.


